
Chest PleurX catheter
Breathe easier without repeated chest drainage.
A tunneled pleural catheter lets you drain fluid from around your lung at home, whenever it builds up. It is placed in about 15 to 30 minutes, and most people go home the same day.
- Outpatient
- 15–30 minutes
- Moderate sedation
- Home the same day
 Fabio Komlos, MDInterventional radiologist
 Watch the video explanation8:23 video · PleurX Catheter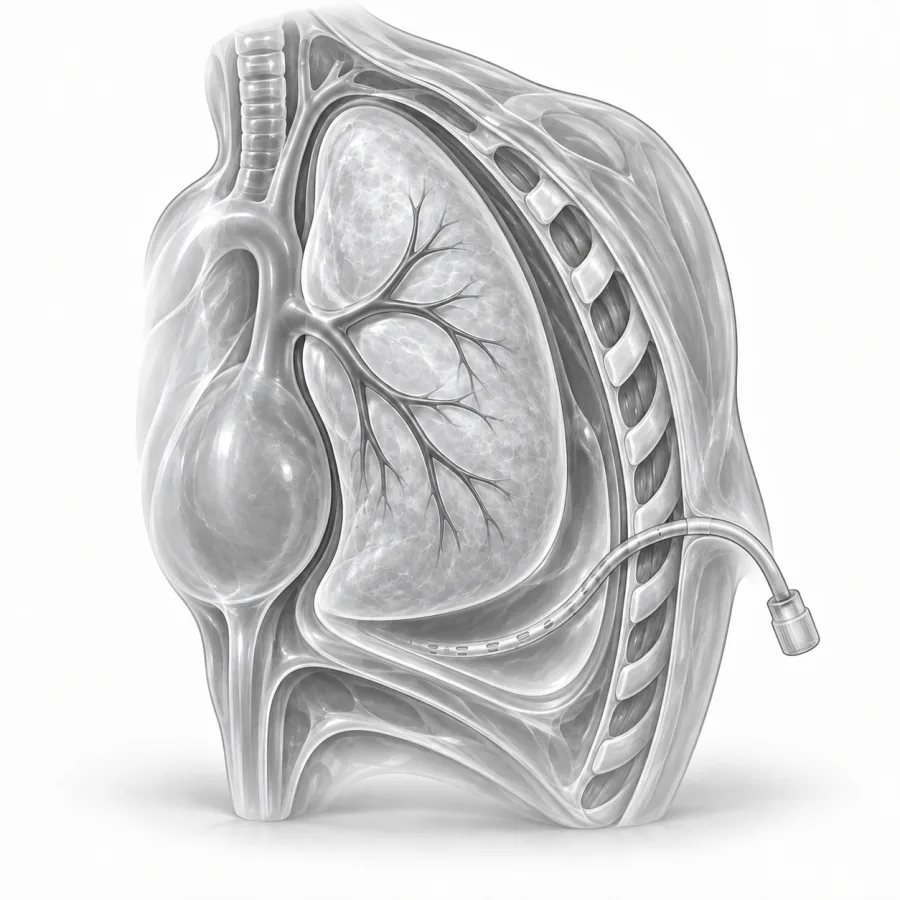
About 15 minutes, every day or two, without a hospital visit.
PleurX Catheter
Dr. Fabio Komlos walks through chest pleurx catheter the way he explains it in clinic, using the same images he uses to plan treatment.
Fabio Komlos, MDInterventional radiologist · 8:23Thoracentesis Procedure: Everything You Need to Know
12:23
Before your procedure
3:29
What problem does it treat?
Your lungs sit inside a thin, two-layer lining called the pleura. Normally there is only a spoonful of fluid between the layers. When too much fluid collects there, it is called a pleural effusion. The fluid squeezes the lung, which can make you short of breath, cough or feel heavy on one side of the chest.
Draining the fluid with a needle, called thoracentesis, usually brings quick relief. But in some conditions the fluid comes back within days or weeks. The most common cause is cancer that spreads to the pleura, often from the lung, breast or ovary, or lymphoma. Heart failure, liver disease and kidney disease can also cause fluid that keeps returning.
A tunneled pleural catheter, often called by the brand name PleurX, is a soft tube that stays in place for weeks to months. You drain the fluid at home instead of coming back for another needle.
On ultrasound, pleural fluid looks like a black space above the diaphragm, with the lung floating in it. After placement, a chest X-ray shows the thin white catheter curving along the base of the lung.
Who it helps, and who it may not
Often a good choice if
- Fluid comes back soon after thoracentesis
- Your breathing improved after the fluid was drained
- Your lung cannot fully re-expand, called trapped lung
- You want to spend less time in the hospital
- You or someone at home can manage simple drainage
May not be right if
- Draining the fluid did not help your breathing
- You have an active infection in the chest or skin at the site
- You have a bleeding problem that cannot be corrected
- The fluid is expected to go away with treatment of its cause
- No one can help with drainage and home nursing is not available
How it compares with the alternatives
| Repeated thoracentesis | Tunneled catheter | Talc pleurodesis | |
|---|---|---|---|
| What it is | Needle drainage each time | Long-term tube, drained at home | Talc powder seals the pleural space |
| Hospital time | A visit each time | Outpatient placement | Usually a hospital stay of a few days |
| Works with trapped lung | Yes, short term | Yes | Usually not |
| Main downside | Fluid returns, many visits | Tube care, infection risk | Pain, fever, hospital stay |
| Can combine | No | Talc can be given through the catheter | Can be done with a catheter |
Large studies comparing a tunneled catheter with talc pleurodesis found that both relieve breathlessness about equally. The catheter usually means fewer days in the hospital. Pleurodesis means no tube to care for afterward. Treating the cause, for example with chemotherapy, can also slow the fluid. Your lung doctor, cancer doctor and we will help you decide. See pleurodesis.
How to prepare
- Tell us about any blood thinners. Some need to be stopped a few days before. See blood thinners. Do not stop any medicine without talking with the doctor who prescribed it.
- Do not eat for 6 hours before the procedure. You can usually drink clear liquids until 2 hours before, unless we tell you otherwise.
- You may need a blood test to check clotting and blood counts.
- Plan for an adult to drive you home and, ideally, to learn the drainage with you.
- Read before your procedure and sedation for general instructions.
What happens, step by step
The procedure is done at El Camino Hospital in the interventional radiology suite. A nurse, a technologist and your interventional radiologist care for you. Your heart rate, blood pressure and oxygen are watched the whole time.
- 1Getting comfortable
You lie on your back or side. Medicine through your IV, called moderate or twilight sedation, helps you relax. You stay awake but drowsy.
- 2Numbing and planning
We use ultrasound to find the fluid and mark a safe spot between the ribs. The skin is cleaned and numbed. You may feel a sting and some pressure.
- 3Placing the catheter
A thin needle enters the fluid, and a guidewire goes through it. We make a second small opening a few inches away and pass the tube under the skin to form a short tunnel. The tube then slides over the wire into the pleural space.
- 4First drainage
The tube is connected to a vacuum bottle and some fluid is drained, usually up to about 1 liter. We stop sooner if you feel chest tightness or start coughing hard.
- 5Closing up
The opening where the tube entered the chest is closed with a stitch or glue. The tube is secured and covered with a dressing.
Recovery and home drainage
You recover for 30 to 60 minutes. You can eat, drink and see your family. A chest X-ray may be done to check the tube. Before you leave, a nurse shows you and a family member how to drain, and you go home with a starter kit. More supplies are shipped to your home.
- Day of procedureRest. No driving, alcohol or important decisions if you had sedation. Mild soreness is normal; acetaminophen or ibuprofen usually helps.
- Next dayBack to light activity. You may shower if the site is covered with a waterproof dressing.
- First weekNo heavy lifting or strenuous activity. Drain as we instruct, often every day or every other day at first.
- 7 to 10 daysThe stitches at the skin are usually removed in clinic or by a home nurse.
- After 2 weeksThe tunnel has healed around the cuff. The site can get wet in the shower; pat dry and put on a new dressing.
Drainage tips
- Most people drain every 1 to 3 days. Some teams suggest daily drainage because it may help the pleura seal sooner.
- Do not drain more than about 1 liter at a time, unless we tell you otherwise.
- It is normal to cough or feel tightness near the end. Slow down or stop for that session.
- Write down the date and how much you drained. When amounts become small, tell us.
- Keep the valve cap on at all times between drainages. Never put anything other than the drainage line into the valve.
I think of the chest catheter as giving control back to my patients. Instead of waiting until they are gasping for breath and then coming to the hospital, they drain a little before it gets bad. On the ultrasound, I look for how much the lung moves and whether there are thin strands in the fluid, because both affect how well the catheter will drain and how likely the lung is to seal.Fabio Komlos, MD, interventional radiologist · About Dr. Fabio Komlos
Results and removal
Most people breathe more easily after the first drainage. Over time, in roughly 1 in 4 to 1 in 2 people, the two layers of pleura stick together on their own and the fluid stops. This is called spontaneous pleurodesis. It is more likely when you drain often and your lung fully re-expands.
When you get little or no fluid on three drainages in a row, we check with an X-ray or ultrasound. If the fluid is gone, the catheter can be removed in clinic with numbing medicine in about 15 minutes. If the catheter is still helping, it can safely stay for months.
Risks
- Infection at the skin, along the tunnel or in the fluid (empyema). This happens in about 1 in 20 people or fewer. Most are treated with antibiotics, sometimes without removing the tube.
- Pain at the site for a few days, or during drainage.
- Blockage of the tube by thick fluid or clots. We can often clear it.
- Leaking around the tube, or the tube slipping out.
- Bleeding or air leaking into the chest (pneumothorax), both uncommon.
- Rarely, with cancer, tumor cells can grow along the tube tract, causing a lump in the chest wall.
Common questions
Does the procedure hurt?
How often will I need to drain?
Can I sleep on the side with the catheter?
Can I travel or fly?
Can I still get chemotherapy?
Will insurance cover it?
PleurX catheter
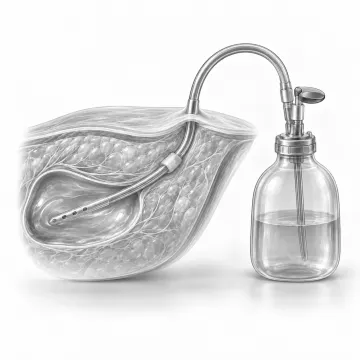
A tunneled home drain for fluid that keeps returning in the chest or belly.
Thoracentesis
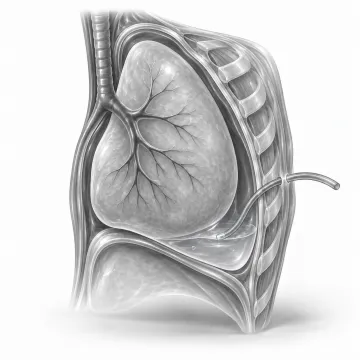
Drain fluid around the lung through a thin tube between the ribs, often with relief the same day.
Pleurodesis
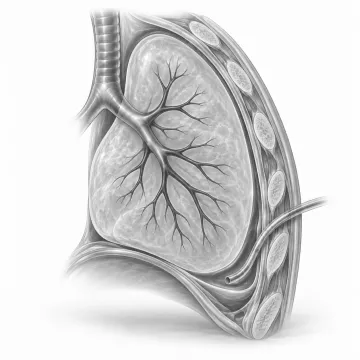
Lasting relief for fluid that keeps returning around the lung: talc pleurodesis or a home drain.
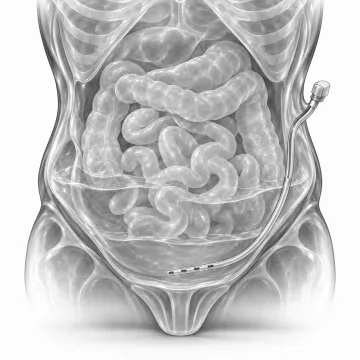
Abdominal PleurX catheter
A home drain for fluid that keeps building up in the belly (ascites).
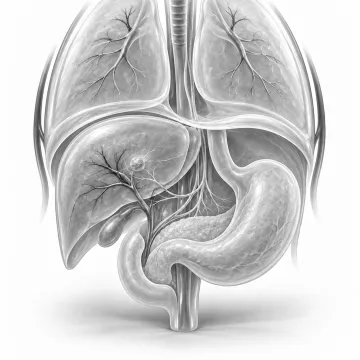
Palliative cancer care
Small procedures that ease fluid build-up, pain, blockages and eating problems caused by cancer.
Written for patients by the Palo Alto Interventional team. General information only; your own plan depends on your health and imaging.
Talk to us about your options
Request a consultation online, or call 650-404-8445, Monday to Friday, 8 am to 5 pm. You can also ask your doctor to send a referral. We will review your imaging and help you decide whether a procedure makes sense.